


Dreaming of making restaurant-quality hummus at home?
That silky texture, deep flavor, and rich aroma that instantly tells you, this place serves great hummus?
📌 Stop dreaming – it’s totally possible!
The Secret Behind Authentic Hummus
For a long time, I searched for the perfect formula – that special hummus simmering in a giant pot, filling the air with its irresistible aroma.
🔹 I tried different versions, created my own secret hummus, but still longed for that iconic hummus shop experience.
🔹 Every online recipe I found felt like the same old variations, offering nothing truly groundbreaking.
🔹 And then… one day, I found it.
While browsing a vegan recipe group on Facebook, I stumbled upon a post raving about authentic masabacha.
💡 I quickly checked out Barak Aharoni’s recipe, and there it was – the secret formula, in plain sight!

So, What Makes the Difference?
🥄 Secret #1 – Cooking the garlic with the chickpeas!
📌 Instead of adding raw garlic later, cook whole garlic cloves along with the chickpeas.
💡 The result? That rich, savory hummus aroma fills the kitchen as it simmers!
🥄 Secret #2 – Cooking the chickpeas with oil!
📌 Add oil while cooking, allowing the chickpeas to absorb it, resulting in an ultra-creamy texture.
How to Make Quick & Easy Restaurant-Style Hummus?
Since I was too impatient to wait, I tested this shortcut method –
✅ Opened a can of chickpeas (no added baking soda, just water & salt).
✅ Poured everything into a pot, including the liquid.
✅ Added a tablespoon of neutral oil, whole garlic cloves, and a pinch of baking soda.
✅ Simmered for about 20 minutes – and the aroma confirmed I had finally cracked the code!
Update: I’ve Improved the Recipe Even More!
📌 A pinch of citric acid (lemon salt) – brings out that bold, signature hummus shop flavor.
📌 Let the chickpeas cool to room temperature before blending –
Chef Gal Edani explains that this allows you to control the liquid perfectly, preventing hummus from thickening too much once chilled.

💡 From here, it’s the classic method:
🥣 Blend with tahini, lemon juice, citric acid, and chickpea cooking water.
🎉 And just like that, history is made!

😋❣ Enjoy every bite!

RECIPE
Easy Restaurant's HummusEQUIPMENT

2-3 servings
- 1 can chickpeas regular, with water and salt
- 2-3 cloves garlic, peeled, and cut into halves
- 1 small onion, peeled and cut into four
- 1 teaspoon canola or olive oil by taste
- ⅛ teaspoon baking soda
- ⅓-½ cup white tahini (not whole grain) by taste
- ½ cup liquid of cooked chickpea by desired texture
- ½ Tablespoon lemon juice by taste
- 1/16 - ⅛ teaspoon lemon acid no more! See important note below
- pinch ground cumin optional, by taste
- salt add gradually
- the remaining of the chickpea liquid to add the hummus the day after
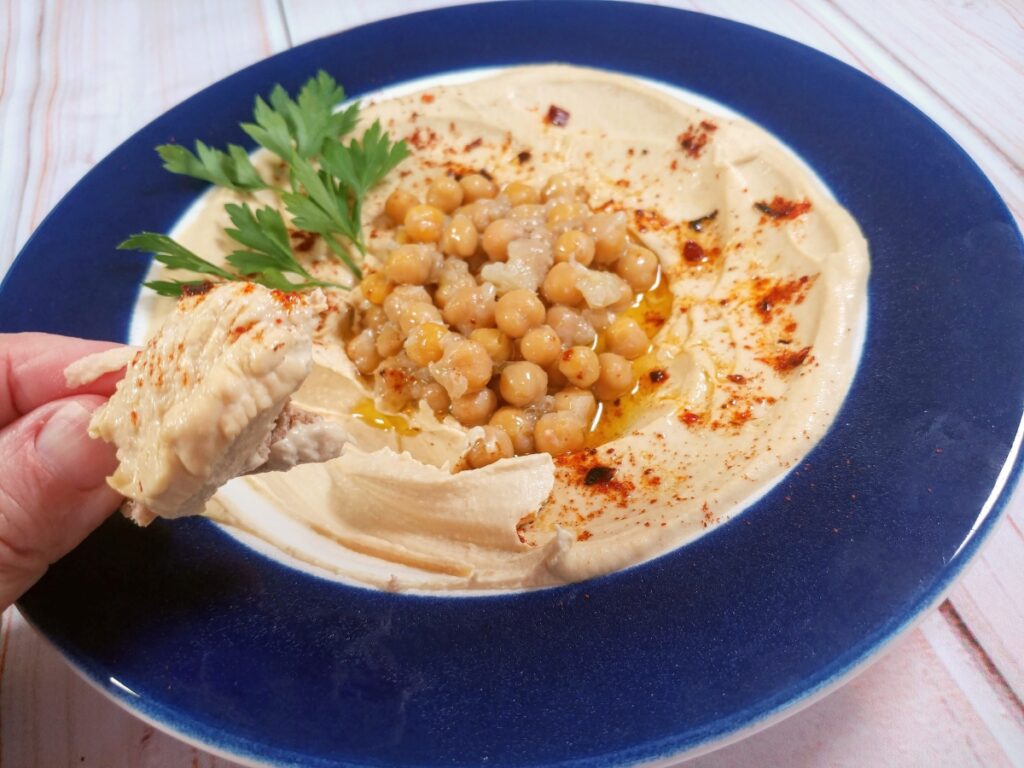
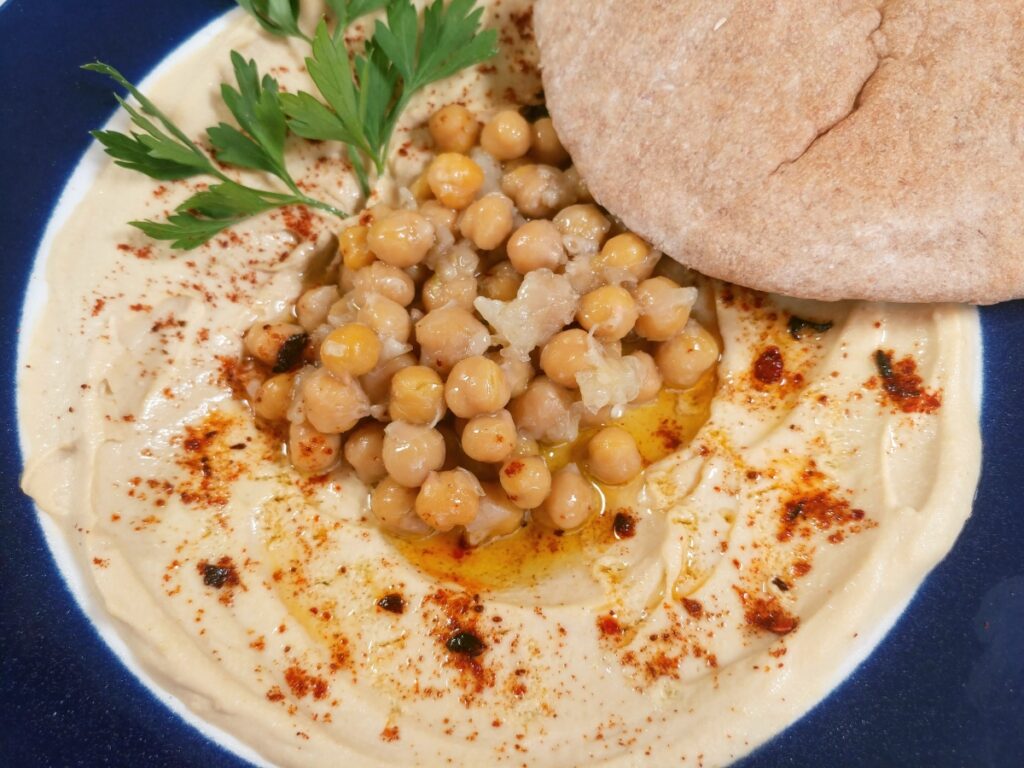
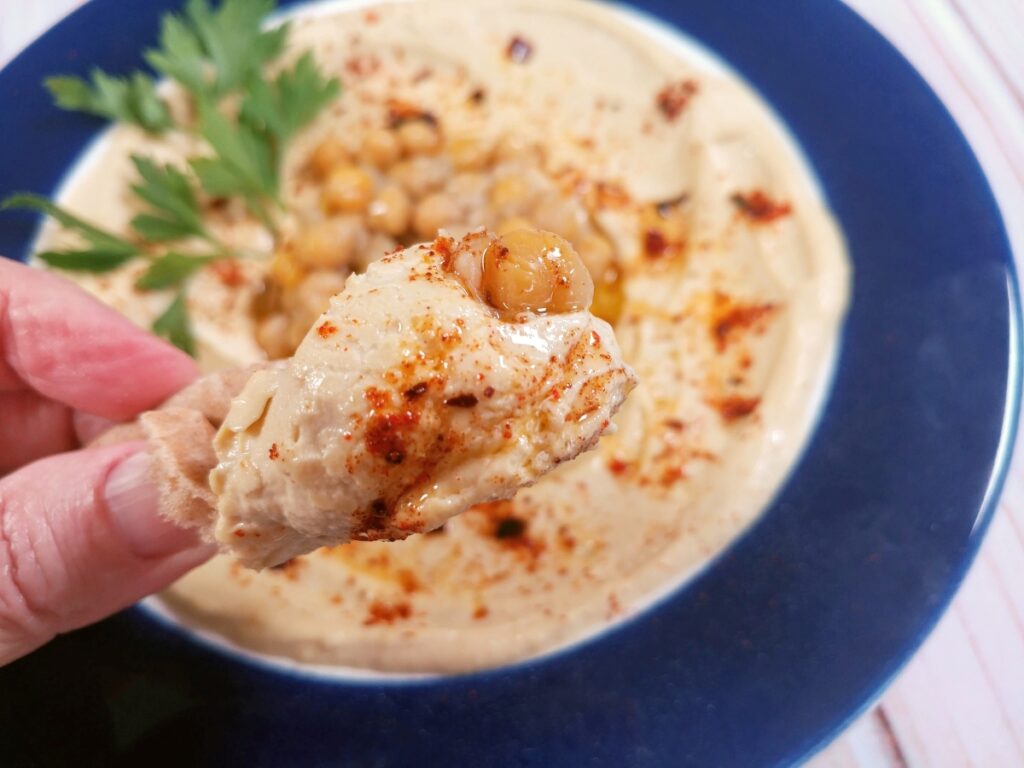
For Serving
- Whole chickpeas, sweet/smoked paprika, chopped parsley, olive oil, raw sliced onion, tahini dressing, pita.
- Strain the chickpeas. Transfer the chickpea water to a medium-sized saucepan. Add baking soda, onion, and garlic.
- Transfer the chickpeas to a bowl. Add olive oil, mix well with your hands and add to the saucepan.
- Bring to a boil, cook over medium-high heat for about five minutes, lower to medium-low heat and cook for another 15 minutes at a gentle boil. Remove from heat, and let cool to room temperature*
- Strain the chickpeas into a bowl, make sure to keep the liquids* (see a note below). Keep 2-3 tablespoons of the chickpeas to garnish the dish. Store the cooked liquid in another bowl.
- Put the tahini in a food processor, add lemon juice, lemon acid, and a tiny pinch of cumin; process for a few seconds.
- Add the chickpeas, garlic, and onion to the food processor and process for another two minutes until you get a smooth texture. Stop the processor from time to time and scrape the chickpeas from the sides with a spatula.
- Add 3-4 tablespoons of the cooked chickpea water and process for a few more seconds. Occasionally stop the food processor and scrape the sides with a spatula; if too thick - gradually add more chickpea cooking water until you get the desired texture.
- Taste and adjust seasoning if necessary: Add salt and lemon juice gradually—process for a few more seconds.
- Suppose you do not plan to eat Hummus that day. In that case, keep the remaining cooking water in the refrigerator, as the chickpeas thicken over time. Then, the next day adds the chickpea water gradually until you get the desired degree of thickness.
For Serving
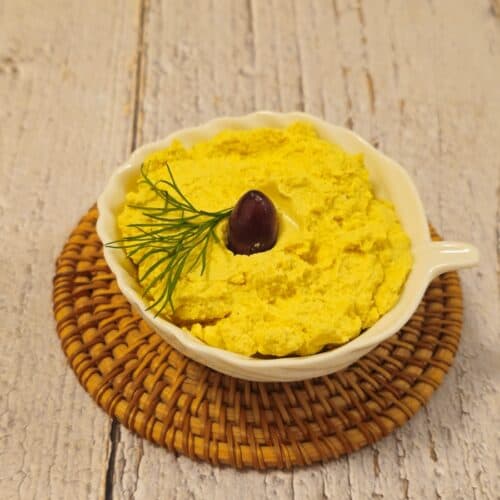
- Divide the chickpeas into two or three serving bowls, garnish with whole chickpeas, tahini dressing, parsley, sweet paprika, sliced onion, and olive oil. Serve with pita.
- Lemon Acid quantity - depends on the brand. Start with a tiny pinch - and gradually up to ⅛ tsp.
- If you process the chickpeas while warm, once the hummus gets cold, it will thicken, meaning you will have to add more of the cooked chickpea water; however, if you process it at room temperature, it will maintain more or less the same texture.
- Keep the cooked chickpea liquid in the fridge, in a separate sealed container, so if your hummus has thickened in the refrigerator - just mix in a tablespoon or more of the liquid, to return it to the desired texture.
- If you choose to cook the chickpeas yourself - here's how: Soak 1 cup of dry Bulgarian chickpeas overnight - at least for eight hours; Strain and rinse. Cook in a pressure cooker with two cups of water, half a teaspoon of baking soda, garlic cloves cut to taste, and three tablespoons of oil. After the whistle, lower the heat and cook for about 25 minutes until the chickpeas are soft and crushed when lightly pressed with your finger and thumb. Continue according to the recipe.


Leave a Reply